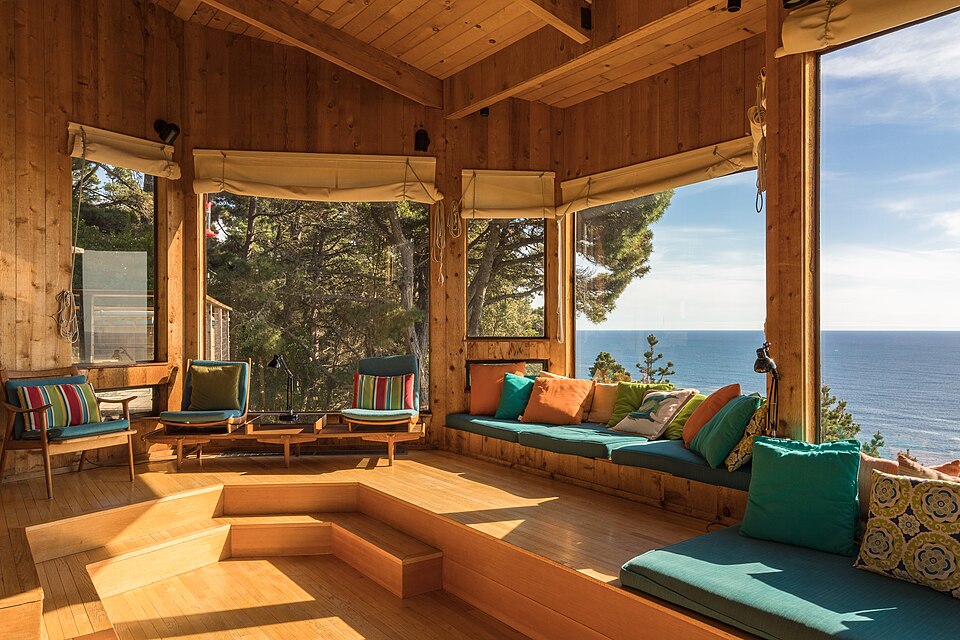
A labeled reference photo can make a measurement easier to understand later when you no longer remember exactly which edges you measured.
Show the relevant endpoints
Take a clear photo of the area and mark the measurement’s start and end in a separate annotation or note. Write the value and unit explicitly. Avoid relying on perspective to communicate the dimension, because a photograph is not a substitute for the actual measurement.
Name what the number means
Distinguish an opening width from a wall length or a usable gap. Add any relevant obstruction such as trim or a projecting handle. Keep estimated dimensions visibly different from measured ones so a future project does not treat every number as equally reliable.
Store with the project context
Save the photo beside the plan it supports and include the measurement date if changes are possible. Keep images of private rooms appropriately restricted. Recheck critical dimensions before ordering or altering something, especially if the room or the intended use has changed since the photo was taken.
What would you change first to photograph a room measurement with a readable label?
This practical article was drafted with AI assistance for Little Days. It is not a submitted reader story or a claim of firsthand experience. The image is illustrative; its source is listed in Photo credits.